
Tips & tricks
When a split does not look right
Missing parts, extra cubes or unusually long calculations often point to a problem in the source geometry.
First checks
- Confirm the intended model is the active file in Prepare.
- Check its dimensions and your printer volume.
- Run Analyze and inspect the reported geometry defects.
- Use Repair, then rebuild the Pre-Split layout and run Split again.
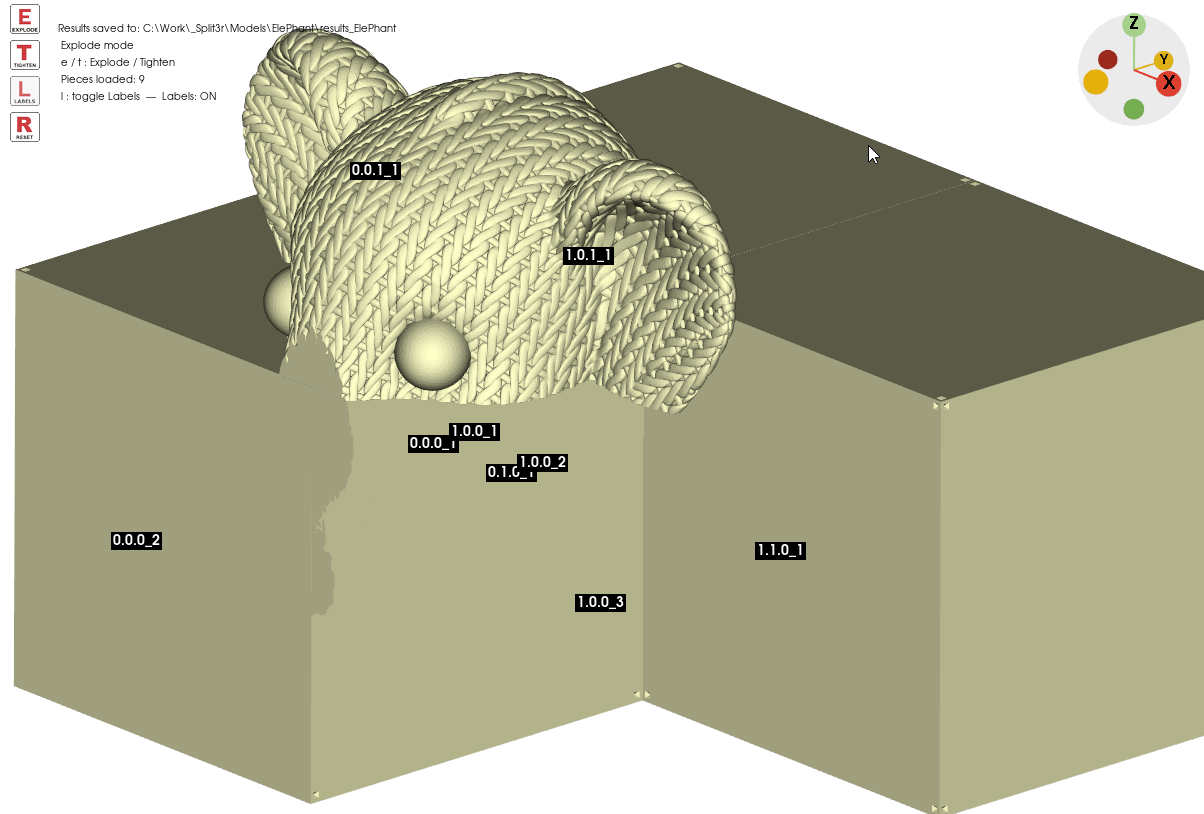
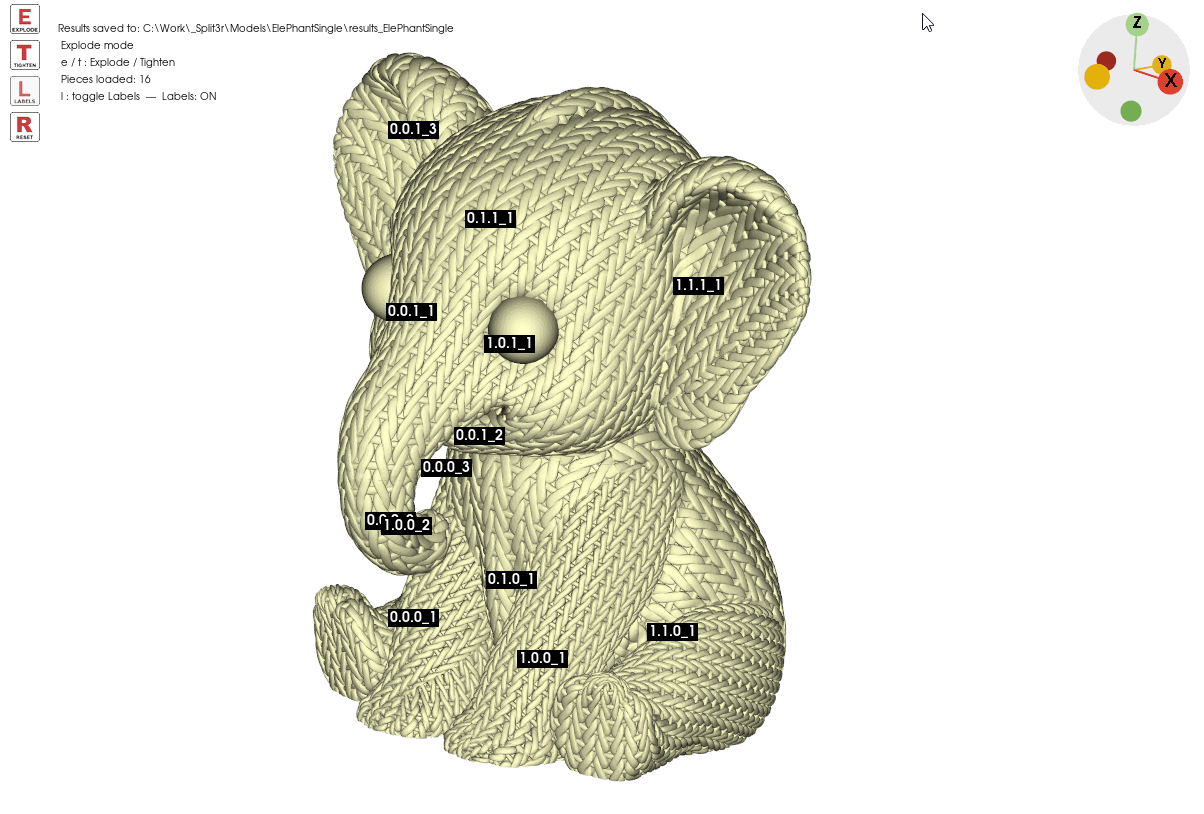
Read the geometry
A surface can look convincing in the viewport while its underlying mesh is unsuitable for solid operations.
| Problem | Why it matters |
|---|---|
| Separate or overlapping bodies | Unmerged solids and internal shells can create ambiguous cuts. Inspect the bodies with Analyze and separate or repair them as appropriate. |
| Holes and open boundaries | Missing faces prevent the mesh from enclosing a watertight volume. |
| Non-manifold geometry | Edges or vertices do not form a valid solid surface. |
| Self-intersections and foldovers | Faces cross or fold onto one another, making inside and outside difficult to determine. |
| Inconsistent normals | Some face directions point the wrong way. |
| Duplicate or degenerate faces | Overlaps and zero-area triangles can destabilize geometric operations. |
| Thin sheets or tiny details | Zero thickness and features below the processing tolerance can collapse during a cut. |
Repair and retest
After repair, select the repaired result, check the dimensions and repeat Pre-Split → Split. Inspect missing parts and small fragments in Explode.
If the problem remains, send the whole Workzone, including the source, repaired files, project and outputs. Include the exact Split3r version and the steps that reproduce the issue.