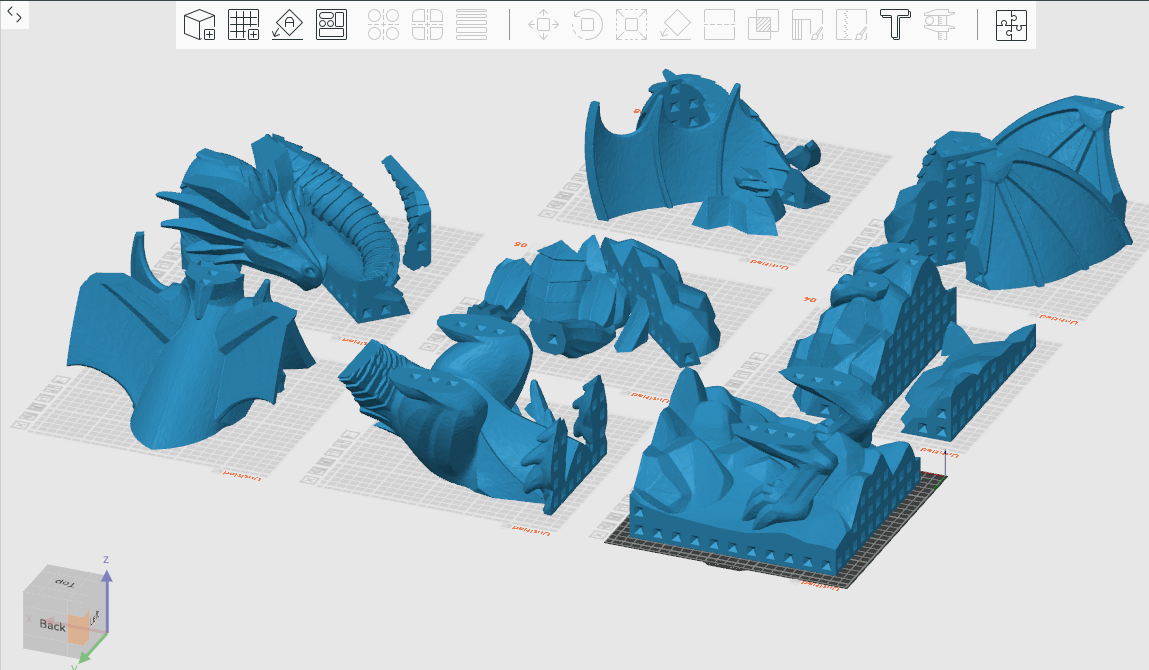
Features · 1.5.0 b8
Large prints, prepared piece by piece
Cut models to fit your printers and keep the assembly manageable.
One workspace, from import to assembly
Load a model, prepare its geometry, set the printer volume and inspect the future parts. Your files and intermediate results stay together in a Workzone.
Version 1.5.0 b8 groups the preparation tools across the top and can move status text below the file tree to leave more room for the model.
Follow your first split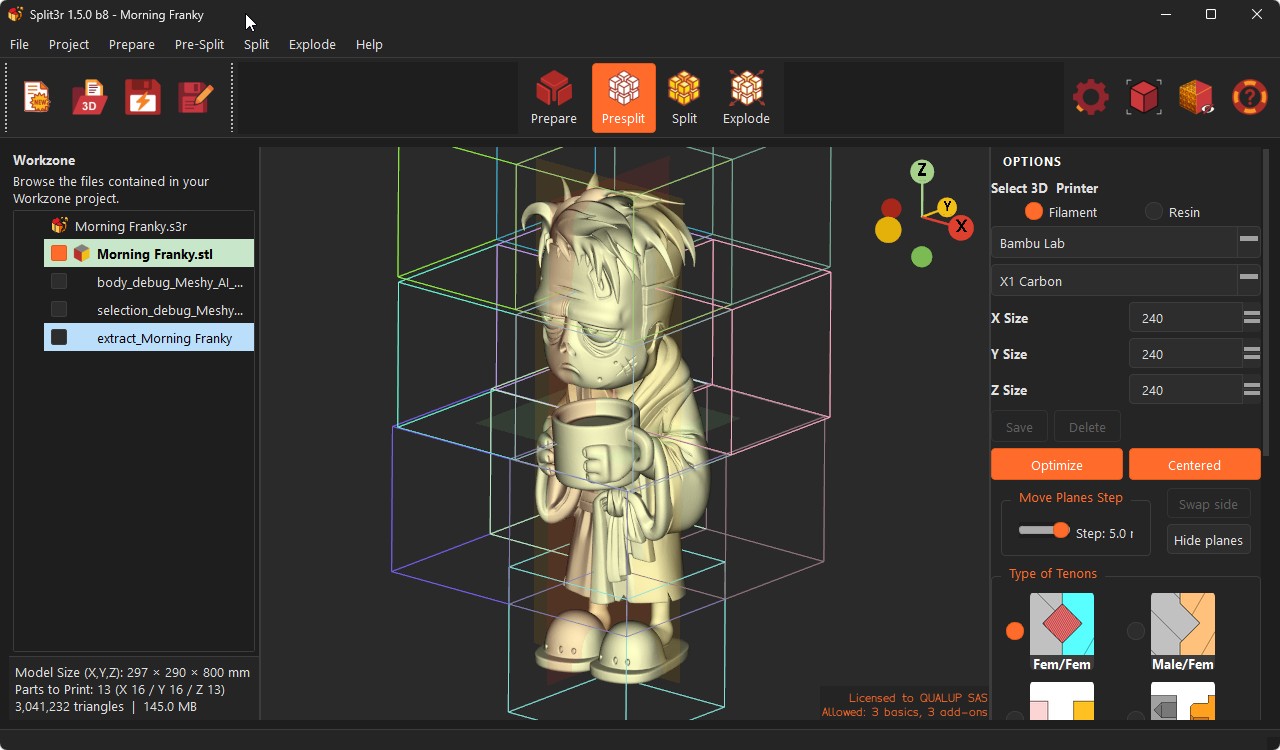
Four working modes
Prepare
Inspect, repair, orient and scale the active model.
Pre-Split
Choose the printer volume and position the cutting planes.
Split
Generate printable parts and their matching joints.
Explode
Inspect, label and organize the result for assembly.
Make the joints suit the model
Use separate tenons, male/female joints, lap joints or cuts without connectors. Adjust clearance and placement before splitting.
Lap joints follow the cut edge and offer an assembly option when walls leave little room for tenons.
Calibrate the fit before printing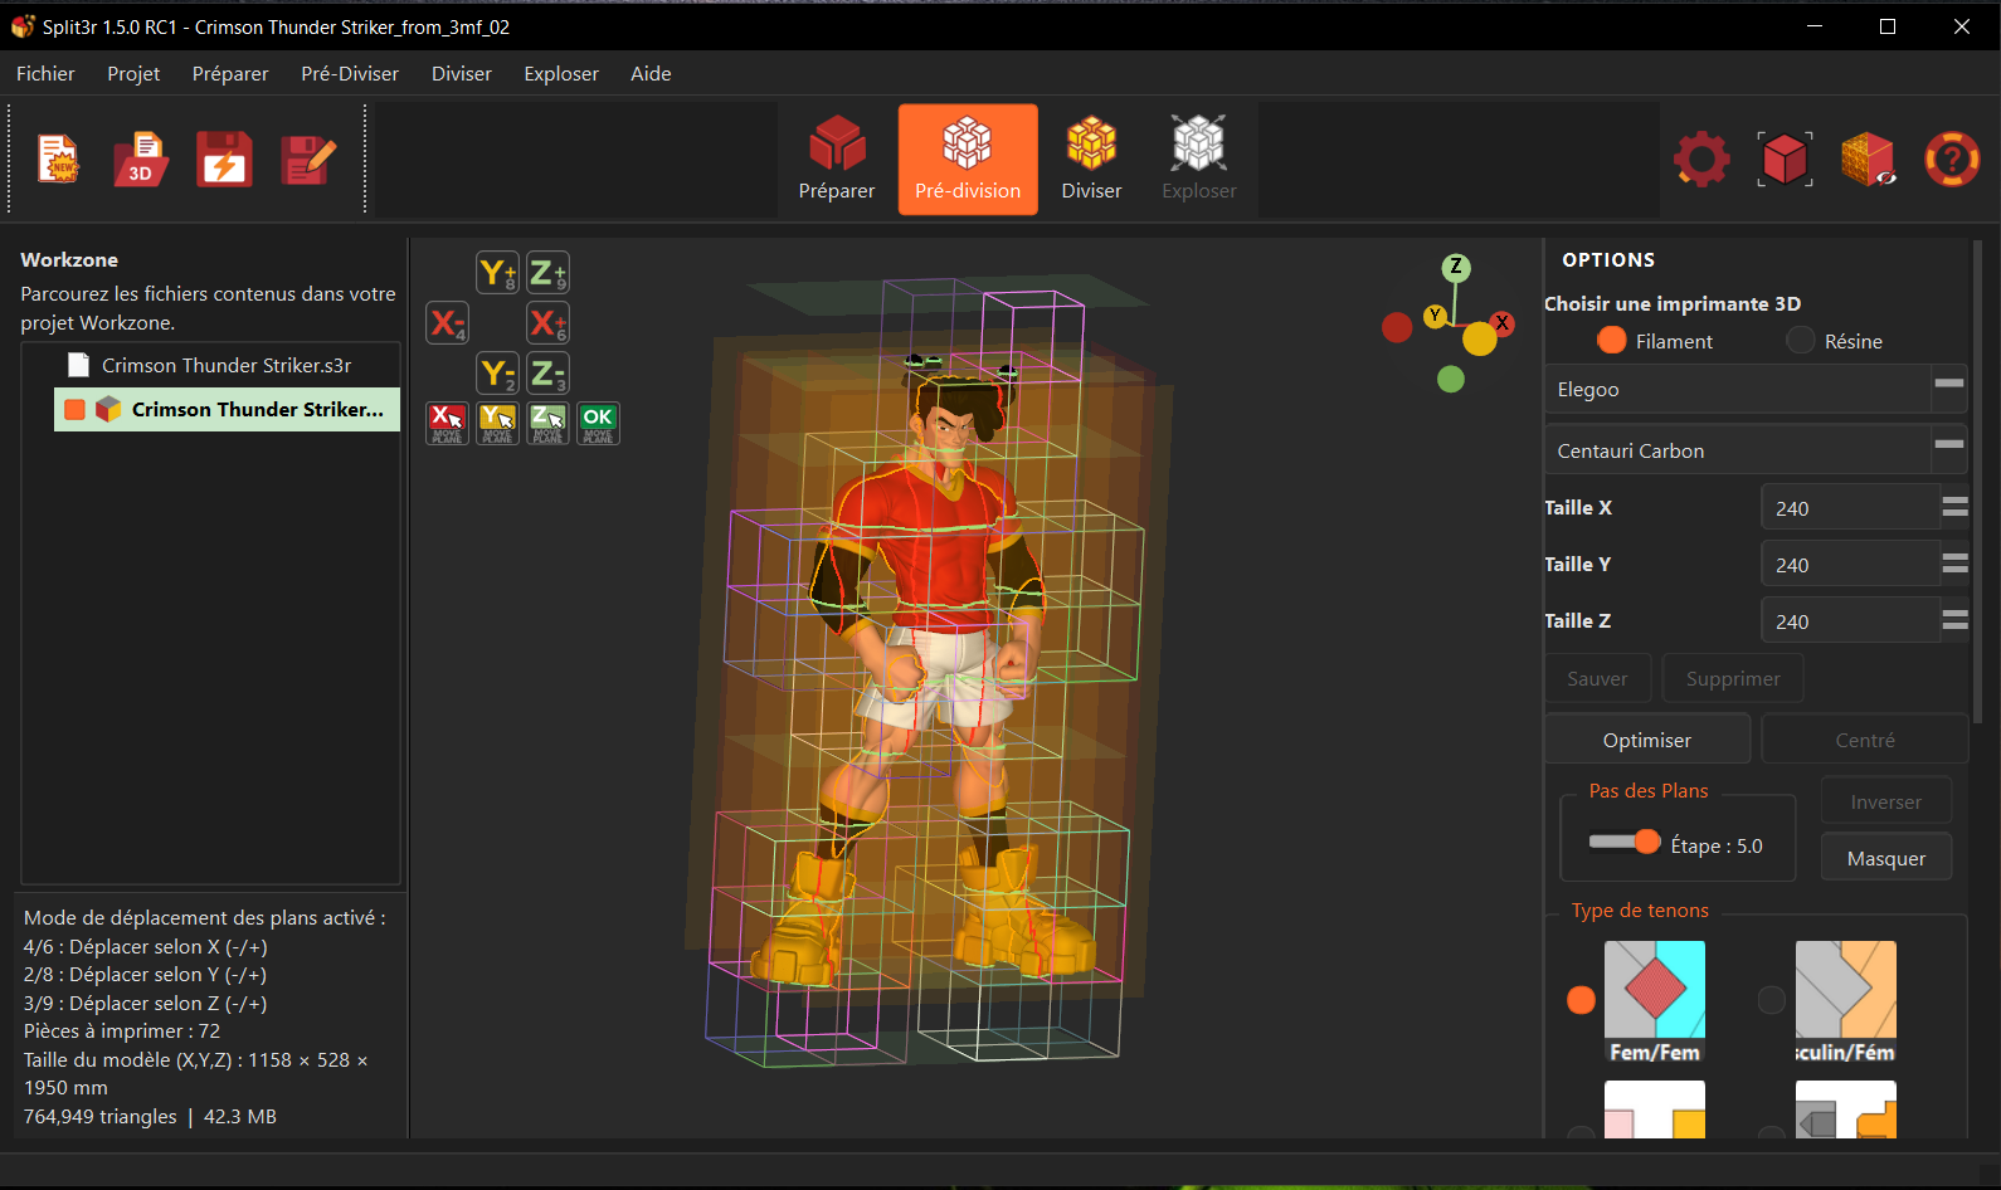
Preparation tools
| Tool | What you can do | License |
|---|---|---|
| Analyze & Repair | Locate mesh defects and repair the active body. Painted repair results retain their colors in b8. | Basic / Full |
| Scale | Set the target size before planning cuts. | Basic / Full |
| Simplify & AutoShell | Reduce triangle count or hollow a model. Simplify now transfers painting to the reduced mesh. | Add-ons / Full |
| Smart Selection & Extract | Refine a region, choose Patch or Interlocking, preview and extract it. Save selections for further trials. | Add-ons / Full |
| Cut by Plane / Spline | Place a straight cut or draw a curve around a detail, with an adjustable preview. | Add-ons / Full |
| Colorize & painted 3MF | Paint and process colored models for your multicolor printing workflow. | Add-ons / Full |
Continue in your usual slicer
Export the prepared parts, then choose print orientation, supports and print settings in PrusaSlicer, OrcaSlicer, Bambu Studio or your preferred slicer.
Use part labels and the exploded view to keep track of the assembly.
Compare licenses